Recipes
Halloween Chocolate Bark
Heads up: some links below are Amazon affiliate links. If you buy through one we earn a small commission at no extra cost to you. We only point at gear we actually use.
This is the same chocolate bark we make all year, wearing a costume.
That is genuinely the whole trick. Bark is the most forgiving candy there is: no thermometer, no sugar stages, nothing that can seize if you look at it wrong. Melt, spread, top, chill. The Halloween version changes the colours and the things you scatter on top, and nothing else.
Which makes it the right recipe for the last week of October, when nobody has the patience for anything requiring a candy thermometer. If you want the version without the orange, that is our easy chocolate bark, and it works the same way.
One thing worth owning: you want a proper half sheet pan for this rather than a warped old tray. Bark spread on something bowed comes out thick at one end and translucent at the other, and it snaps unevenly when you break it.
The other upgrade is gel food colouring. It matters more than it sounds like it should. Liquid colouring is mostly water, and water is the one thing melted chocolate cannot tolerate - a few drops will take a smooth bowl straight to grainy sludge.
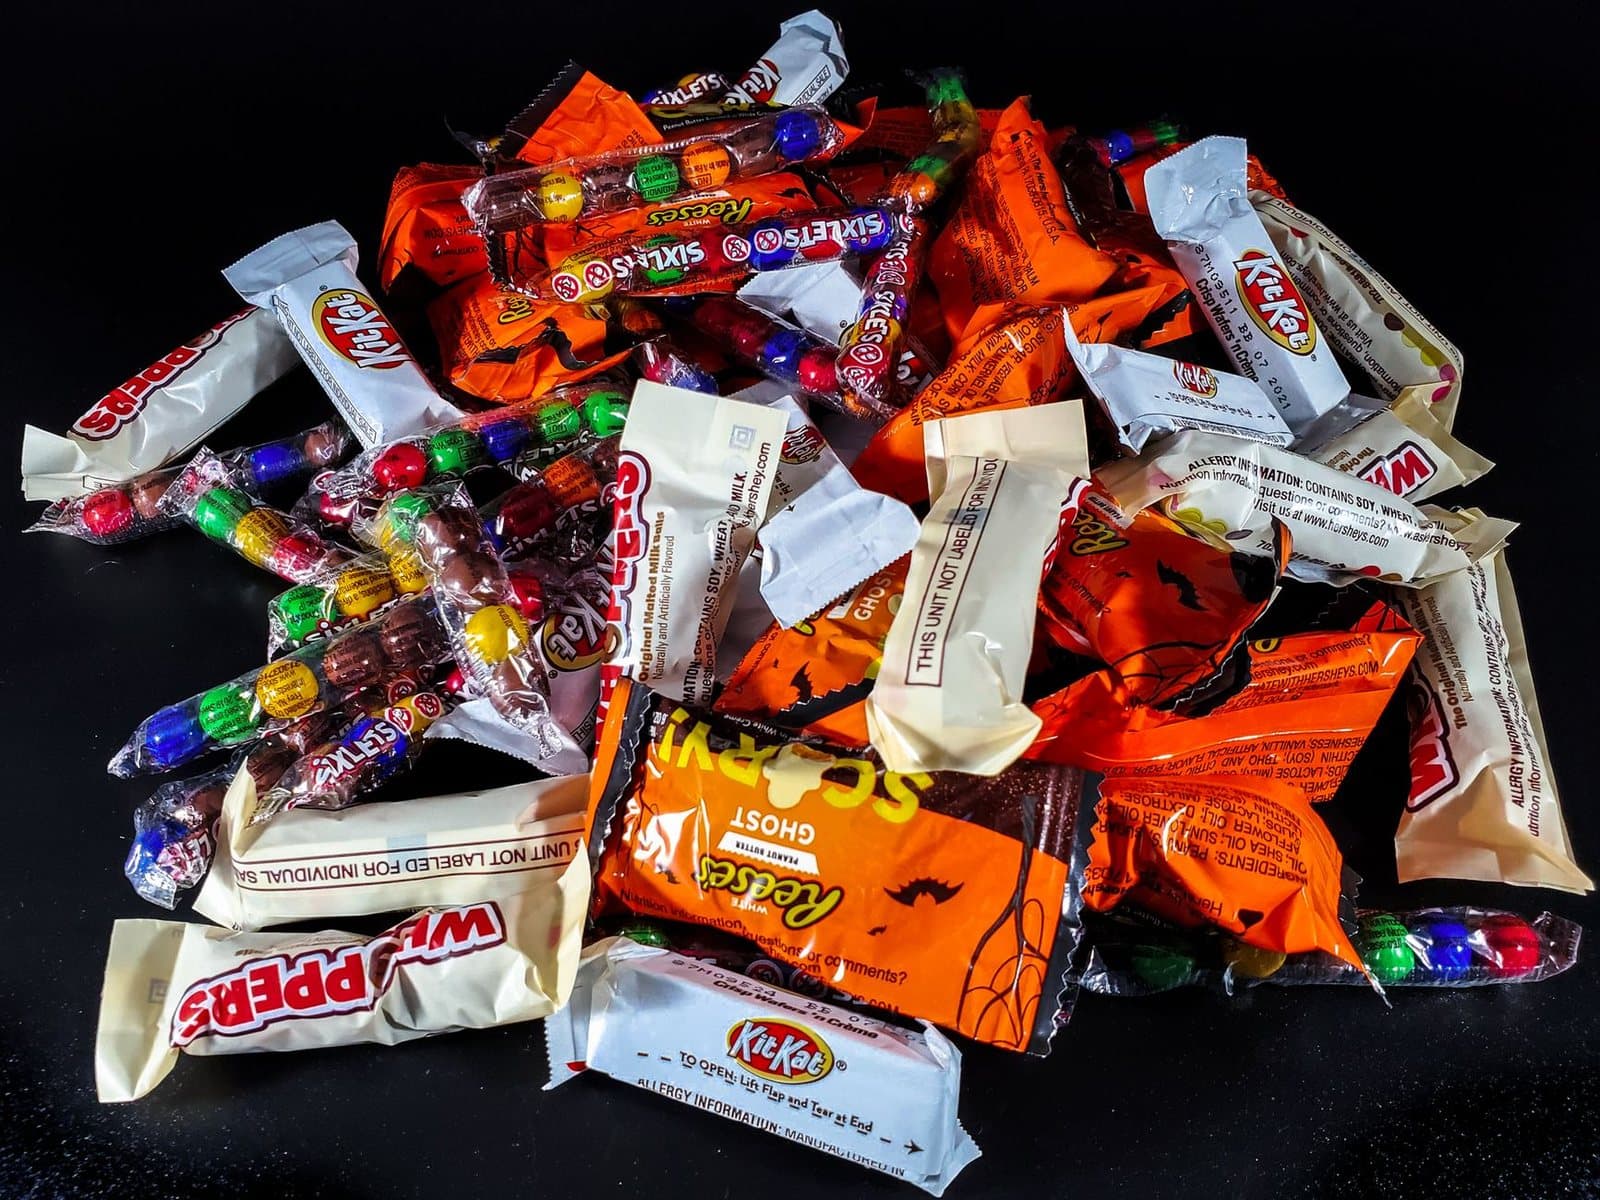
Come the first week of November, whatever is left in the trick-or-treat bag can go straight into the next batch. We wrote up the rest of that problem in what to do with leftover Halloween candy.
Halloween Chocolate Bark
Ingredients
Base
- 12 oz chocolate chips or chopped chocolate, milk, dark or white
- Orange gel food colouring, if you are splitting the white chocolate
Toppings
- 1 cup crushed Halloween candy, whatever came home in the bag
- Halloween sprinkles, candy eyeballs, crushed pretzels
- Flaky salt, optional but it cuts the sweetness
Instructions
Make the bark
- Line a baking sheet with parchment paper.
- Melt the chocolate in the microwave in 30-second bursts, stirring well between each, until smooth.
- If you want the orange-and-black look, melt white and dark separately and colour the white with gel colouring. Gel, not liquid - water seizes chocolate instantly.
- Pour onto the prepared sheet and spread into a thin even layer with a spatula.
- For a marbled top, spoon the second colour over in blobs and drag a skewer through it once or twice. Twice. Any more and it goes muddy.
- Scatter the toppings evenly and press them in gently so they set into the surface rather than falling off later.
- Chill for 30 minutes until fully hard, then break into irregular pieces.
Notes
- Gel colouring only. A drop of water-based colouring will turn smooth chocolate into a grainy paste, and there is no coming back from it.
- Press the toppings in while the chocolate is still wet. Sprinkles added after it sets will end up on the floor.
- Keeps about two weeks in an airtight container somewhere cool.